I’m so excited to be doing a guest post for Lindsay. Her and I have a lot in common, besides the fact we both love healthy delicious food, we both work as health coaches. Although I’ve been working as a health coach for awhile, I’m just getting into it full time because I just quit my teaching job! Now I have lots of time to spend working with my clients AND cooking & baking in the kitchen. Since I know you all love delicious vegan recipes, I figured why not share one of my favorite recipes….brownie muffins!
These brownie muffins are made with spelt flour, which has higher protein and is easier on your stomach to digest. Make them just like this, or swap out a flour you have in your cabinet, like whole wheat or unbleached white flour and that’ll work just fine too.
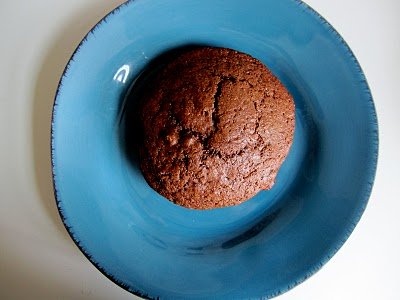
Brownie Muffins
Yield: 14 muffin tops or 16 regular sized muffins
Ingredients:
- 2 cups spelt flour
- 1/2 cup turbinado sugar (or white sugar will do too)
- 1/4 cup agave nectar
- 3/4 cup pumpkin (or unsweetened applesauce)
- 1/2 cup + 2 tbsp unsweetened vanilla almond milk
- 1/4 cup unsweetened cocoa
- 1/4 cup ground flax
- 1/4 cup chia seeds
- 1 tsp pure vanilla extract
- 1 tsp baking soda
- 1 tsp baking powder
- 1 cup dark or semi sweet chocolate chips
Preheat oven to 350 degrees. In 2 small bowls, add the ground flax to one and the chia seeds to the other. Add 1/2 cup water to each cup and mix well. Set aside. Add spelt flour, turbinado sugar and cocoa to a large mixing bowl and mix. Then add wet ingredients: agave nectar, pumpkin, vanilla extract and almond milk. Mix again.
Make sure that your ground flax & chia egg have “set” (it will be a gel like consistency) and then add both bowls to batter and stir. Take 1/2 cup of the chocolate chips and melt it either on a double boiler, or in the microwave at 50% of power for 45 seconds. Mix into batter when melted. Add baking soda and baking powder and mix to combine. Lastly, add remaining 1/2 cup of chocolate chips.
Spray a muffin pan with non-stick spray or use paper liners. Spoon batter into muffin pan and sprinkle tops of muffin with a bit of turbinado sugar. Bake for 22-25 minutes and enjoy!
You’ve got yourself a healthy breakfast or dessert! You can have your muffin without the guilt! I hope you come over to my blog to visit!
Thanks Lindsay for letting me guest post!
—
Nicole Culver, M.A.
Health Counselor


 I’m honored to be guest posting for Lindsay today as I’ve been a fan of Cook Vegan Lover for quite some time. Although Lindsay and I haven’t met (yet!), we’ve had fun connecting over the fact that we both attended IIN and are health coaches.Today I want to share with you all one of my favorite recipes, which just so happens to be vegan and super tasty!
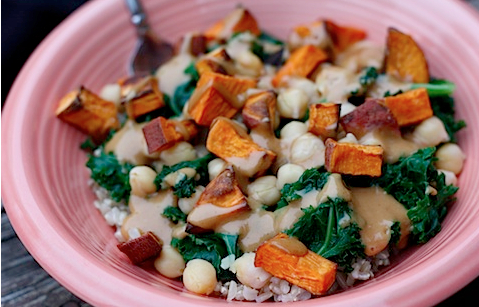
 Kale and Sweet Potato Brown Rice Bowls


 Makes 8 Cups